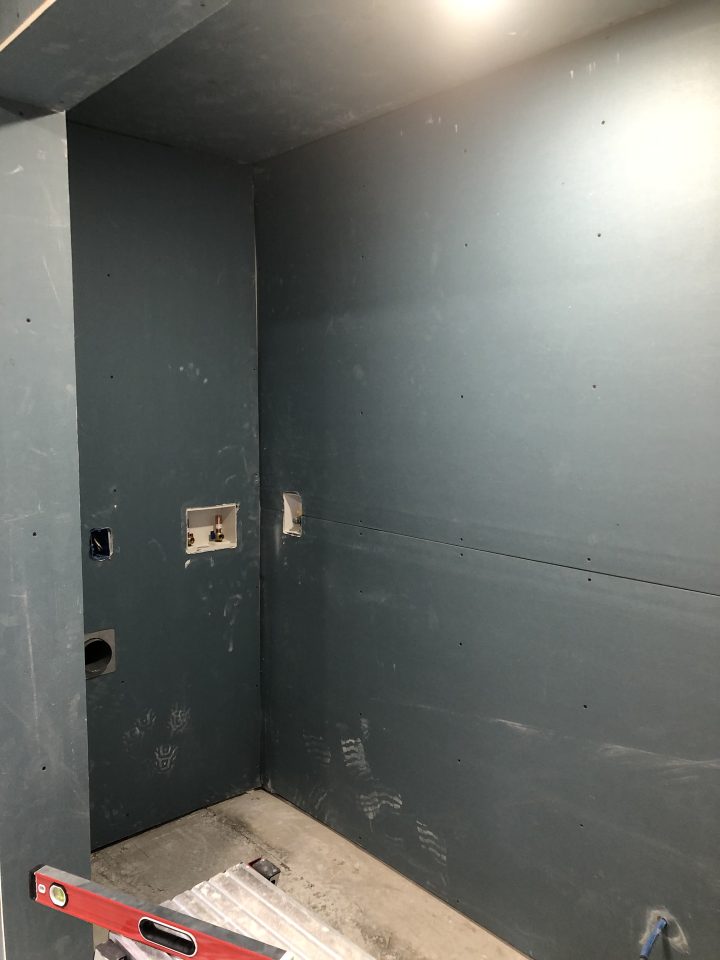
Now that the shower is all sealed it’s time to tile.
First thing is to establish a line that is one tile or less above the height of the drain. The reason for this is the flor is not level, ¼” drop per 12″, and I will have to cut the bottom row of tiles on the wall to line up with the angle of the floor. If I use the untiled floor I will be safe.
As I have a bench that is 12″ wide, actually it is 12″ wide minus the thickness of a tile. This is to allow the seat tile to overhang the tile on the front of the seat. I am able to adjust for thin set thickness at the back of the bench so the wall tiles overhang the bench seat tile.
I started with the bench laying a tile for the seat and at the same time putting a tile on the front of the bench. I made sure that the seat tile overhangs the front tile. I followed this the length of the bench. It also worked out nice that with one tile on the front of the bench it ends at the proper location for the final tile that meats the floor.
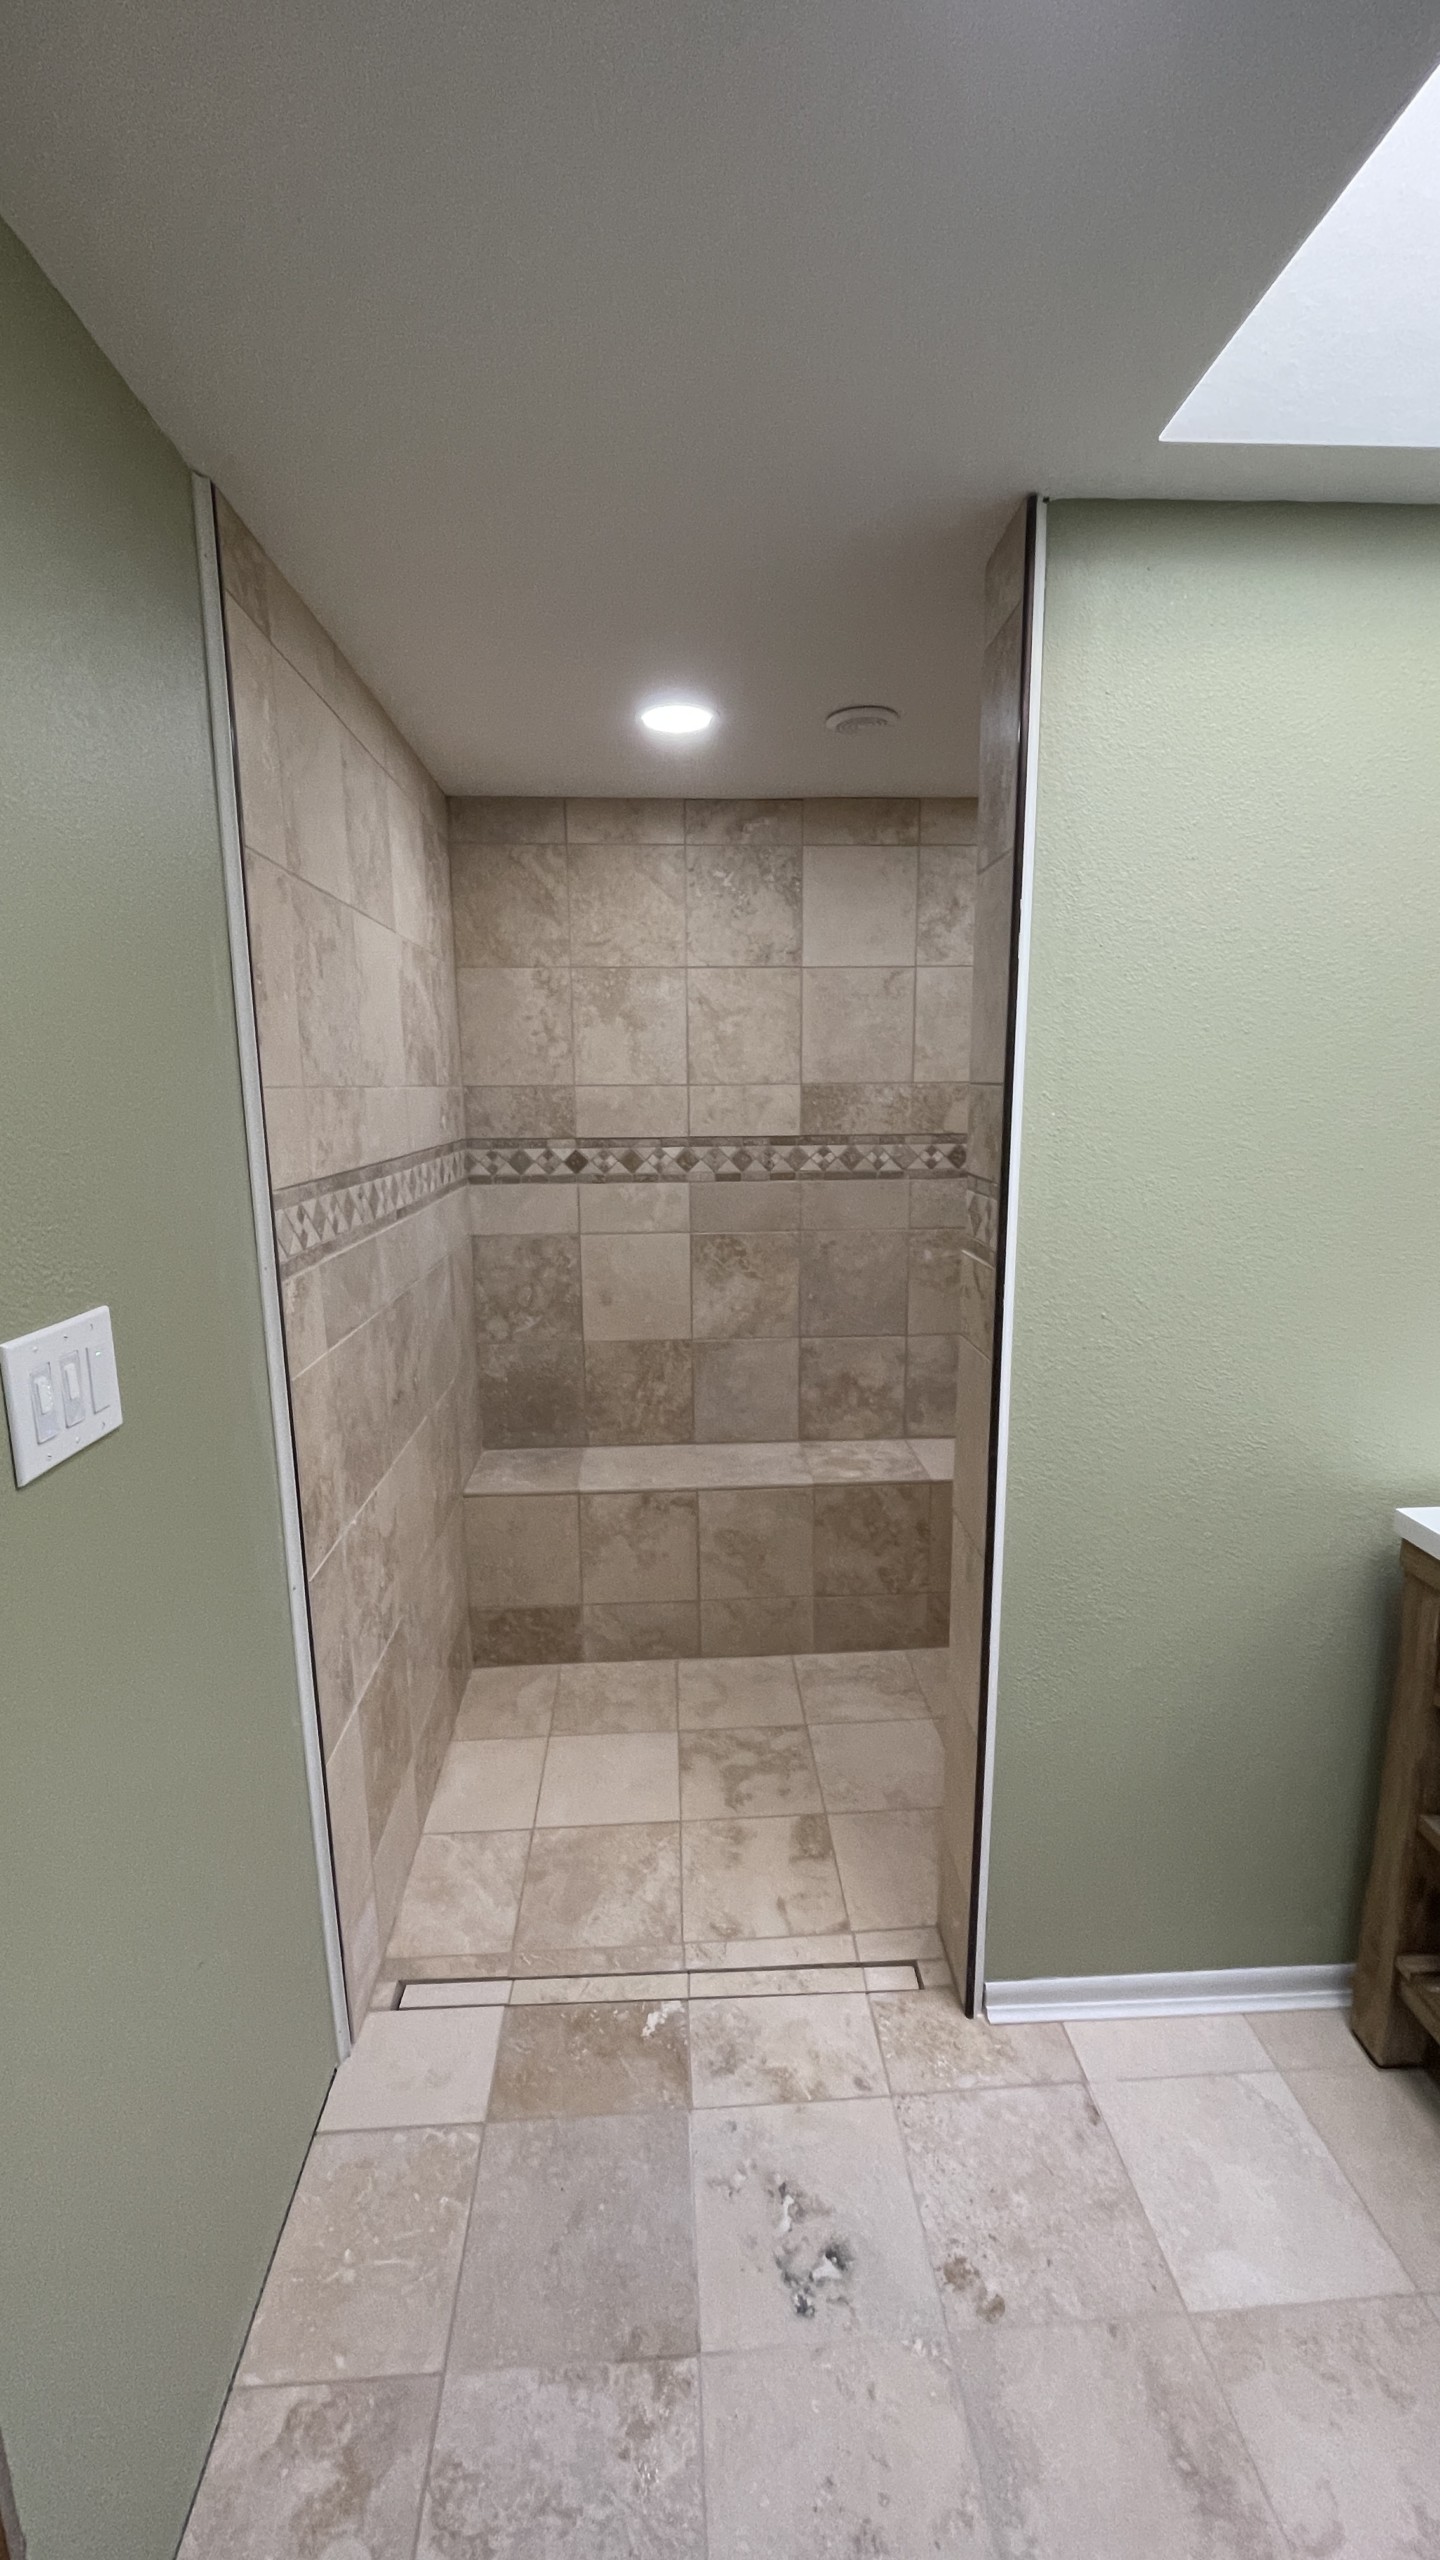
After the bench was laid it was time to start the walls. I went on around the shower laying tile up to the height of the bench. This established a couple of rows of tile that are cured and provide support for the rest of the wall above it.
Now I laid tile up to the accent tile line. I stopped there so that I would have a good base to install the accent tiles. There was one area that was difficult and that was the nook. The accent line goes across the nook right in the center. It required a lot of small cut tiles.
I laid the accent line in one day and then as the accent tiles had a tendency to shift slightly, especially down, I let the thin set cure before going above them.
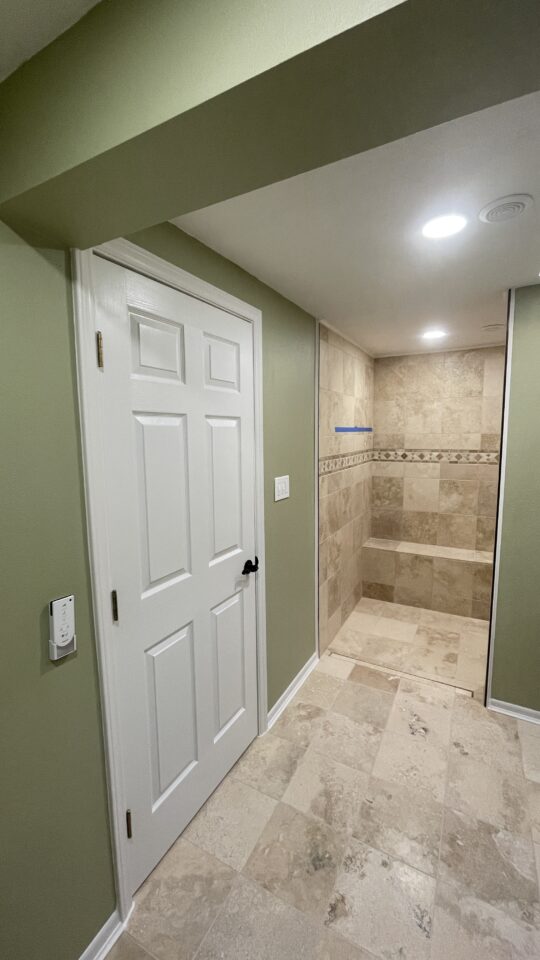
After the accent tiles had cured it was full steam ahead to the ceiling. All the full tiles went up first then the cut tiles.
When the walls were all up it was time to do the floor. As the floor is a little wider than 3 feet few cuts were needed, just at each end and that was only to line up the grout lines with the rest of the bathroom floor.
With the floor in it was time to tie the walls into the floor. This required a lot of cuts most at an angel to match the floor. I took the measurements and Lisa cut. It was a long day but finally the shower is done.
Next step was to seal the tiles as before so the grout doesn’t stain the tile.
Once the sealer is dry we grouted to whole shower in one day, a long day, but finally the shower is done except for plumbing.