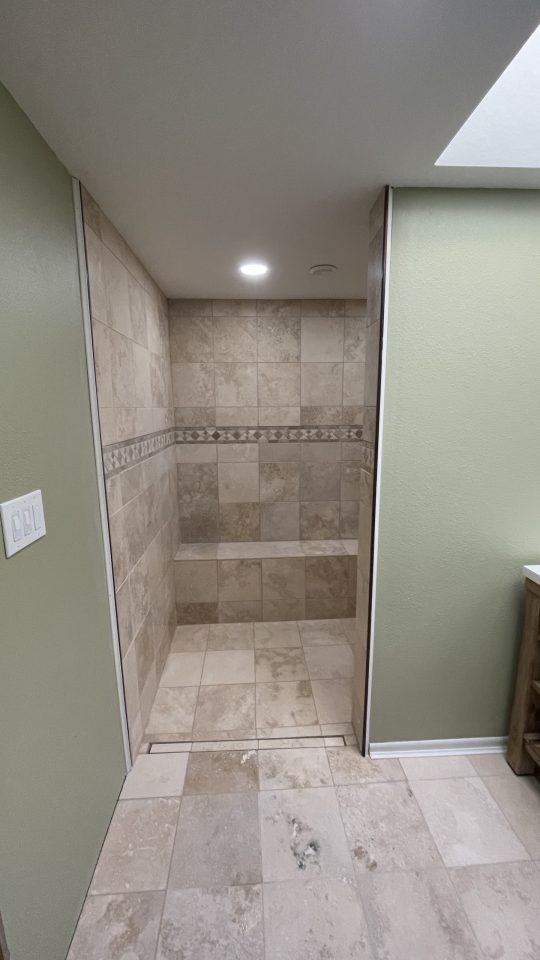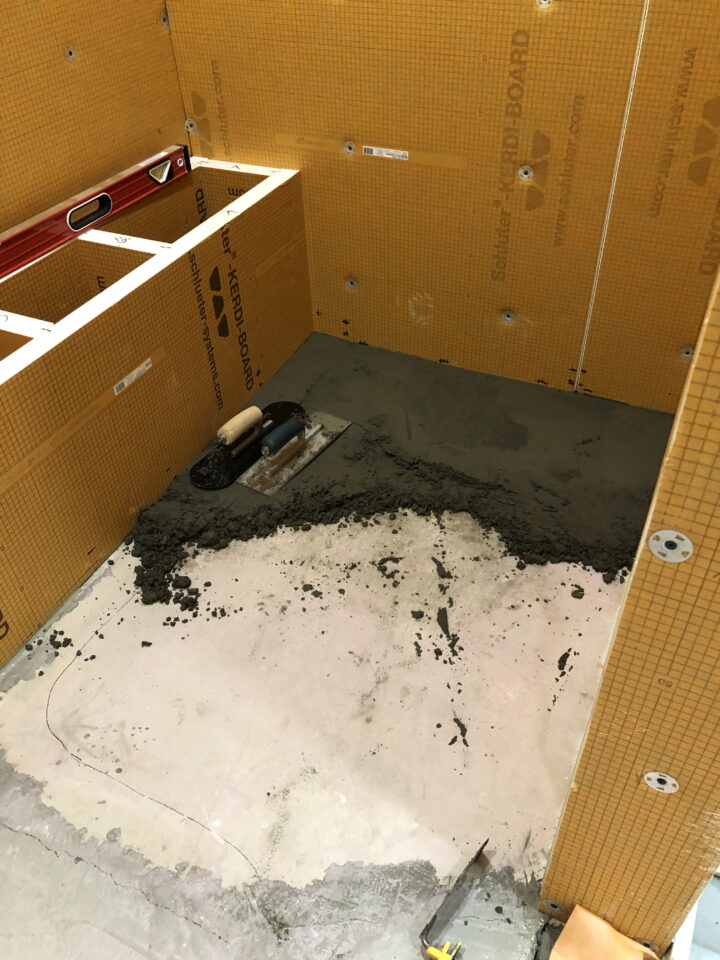
Now that the floor for the bathroom is properly prepared it is time to start tiling.
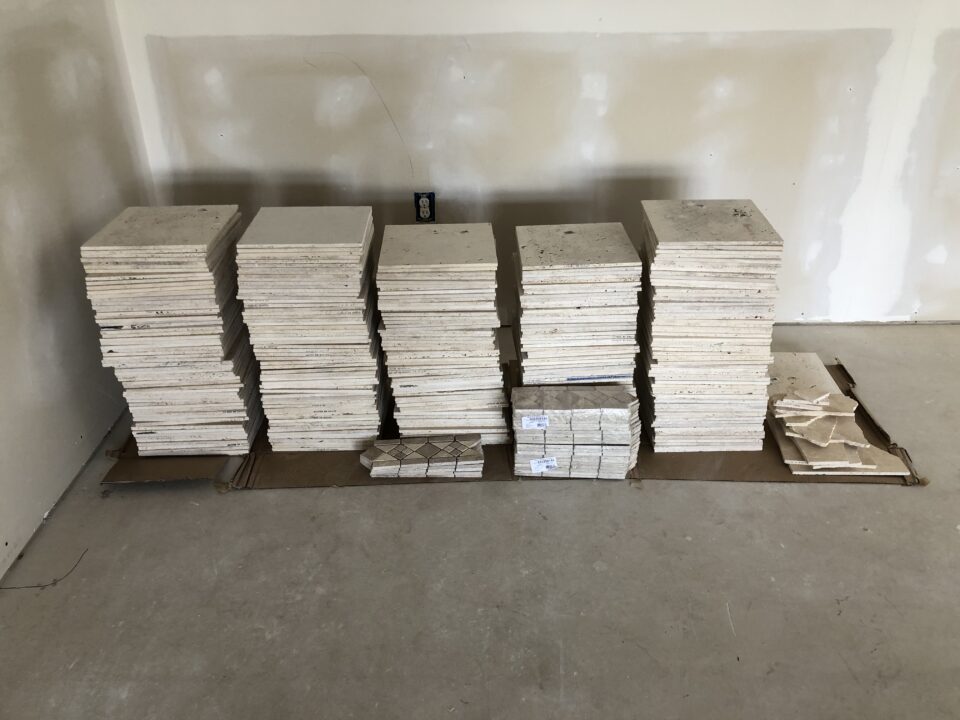
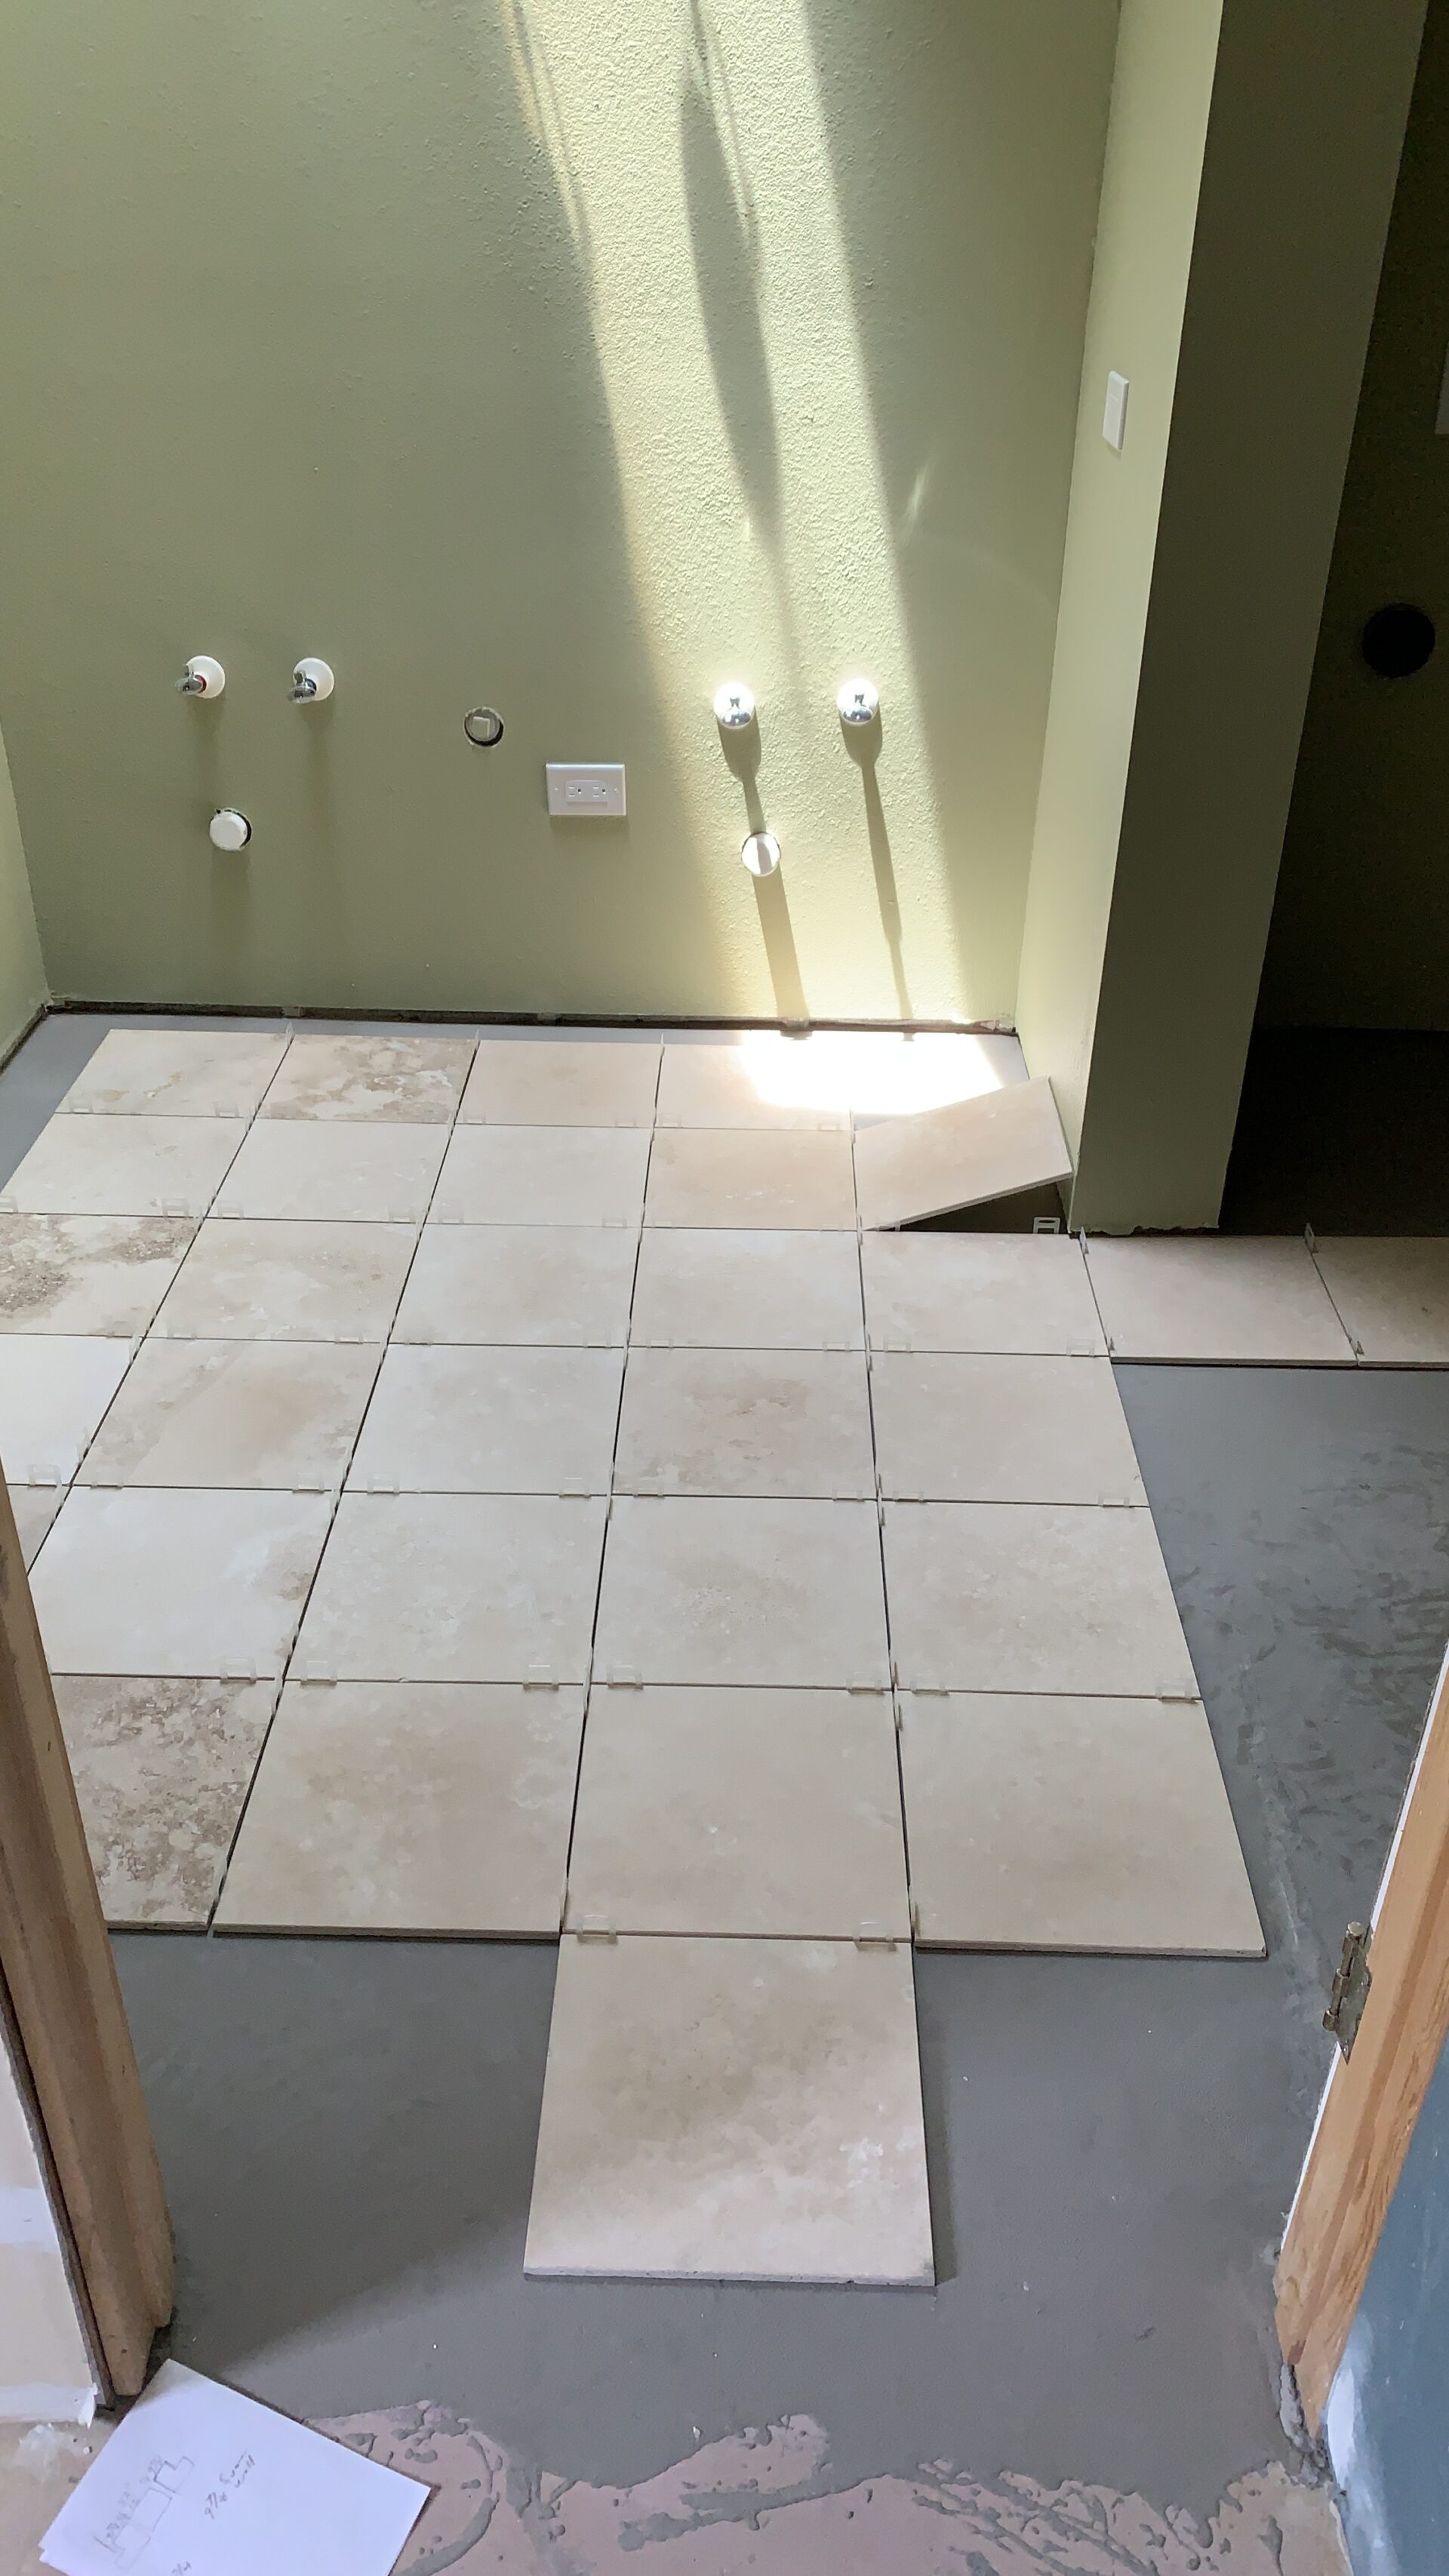
Before doing anything I laid out all the tiles with the spacers between the tiles in order to determine the best layout. This step allows me to be sure that around the edges of the room there are no spots where I would have to cut the tile down to 1″ or less. After figuring out the layout it is time to prepare the thin set.
I am using the same modified thin set that I used in the rest of the house. I take a 50# bag and split it into 2 5 gallon buckets. Then I put half the water that is called for into a third 5 gallon bucket. Using a old one cup measuring cup I add 7 cups of thin set to the water. With my paddle mixer I mix in the thin set to the water. Then I pour in the rest of the thin set and mix everything for 3 minutes. Now it is break time for 5 minutes to let the thin set rest. This is a step that can’t be skipped. Then the five minutes is up I mix it again for 1 minute and the thin set is ready.
When I had the tiles all laid out I drew lines on the floor so I would be able to line up the initial tiles like I wanted them. I lay all the full tiles first and before the edges were out of my reach I had Lisa cut the edge tiles for me. We started where the washer/drier were going and worked our way to the toilet. When we reached the door we moved and started laying tile where the vanity was going and worked our way to the door. We didn’t tile to the drain but left a tile or less space there.
I did run out of thin set when I just had 2 tiles left to lay so I left them for when I do the shower.
After the tile had setup for 24 hours we painted all the tiles with a sealer. The tile is actually porous and if the grout that has a die in it gets on the tile it can stain it. We are careful not to paint the spaces between the tiles where the grout will be going as the sealer would make it hard for the grout to attach itself to the tile.
After the sealer had dried for 24 hours we mixed up a batch of grout and grouted all the spaces between the tiles. I packed the grout in the spaces and Lisa came behind me by 15 minutes and wiped the excess grout from the spaces and cleaned the tiles. This is a longer process than it sounds and by the end of the day we are both very tired.
After letting the grout dry for 24 hours, you can see why it takes so long to tile something, we again sealed the tiles but this time we paid attention to get a good coat on the grout lines. Now the floor is water resistant for the next 20 years and I won’t be sealing it ever again.