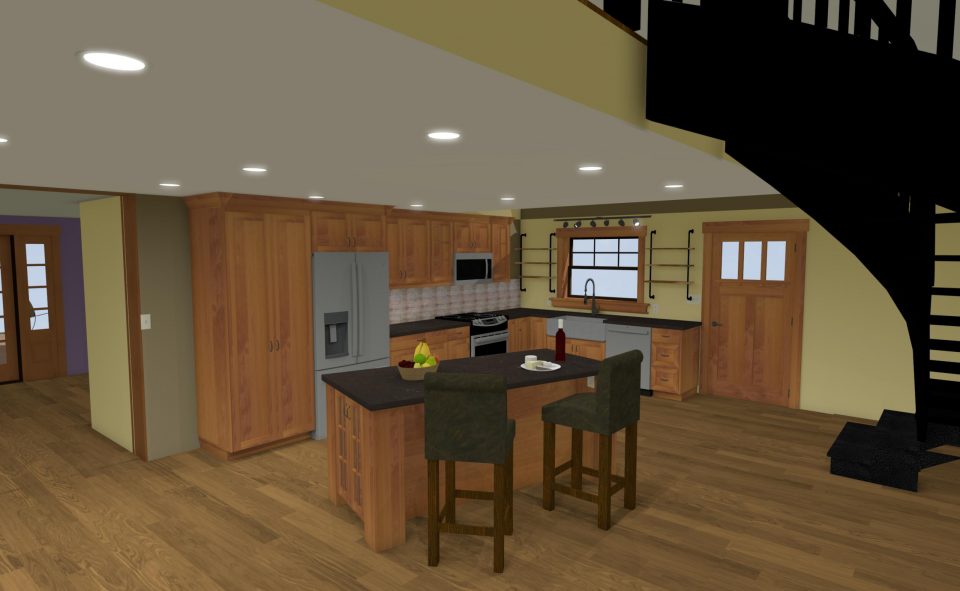
Before we can install the cabinets we need to install the tile floor. Sometimes contractors or DIYers will in the cabinets on the subfloor. This causes a problem with especially the refrigerator, stove, or dish washer. They will be sitting on the subfloor and won’t be easy to move out.
Getting the tile
Lisa was going to be going to Alaska for 3 months so I would be doing the tiling myself. Se was leaving out of Tucson Arizona so I ordered the tile from Floor & Decor in Tucson. Since all of the main floor was going to be the same tile, except for the bathroom, I ordered enough to do the whole house. I also ordered the backsplash for the kitchen and the brick for the kitchen sink wall. Little did I know that the order would be 3 pallets of tile each one weighing 2000+ pounds. Our truck is a 1 ton but this was pushing that limit.

When I dropped off Lisa I went from the airport to Floor & Decor and picked up one of the pallets. One of the boxes of tile had been hit with a fork lift. Floor & Decor was very good about replacing it.

This was the largest pallet and I made the mistake of leaving the pallet outside overnight. I did cover the load bit a little rain got in and the boxes disintegrated. you can see all the unboxed tiles stacked up. The rest of the boxes were dry and I stacked them in the dining room.

The next week I went back and picked up another pallet and stacked those on the original stack.
The third week I picked up the remaining floor tiles and the backsplash and brick wall covering. On the left is a picture of the full order of floor tiles. It looked like a impossible task to use all of these up.
Planning the layout
In all there were 105 boxes of tile. Each box weighs 53 pounds. They come with 2 boxes strapped together totaling 106 pounds, a little more than I care to lift 50+ times.

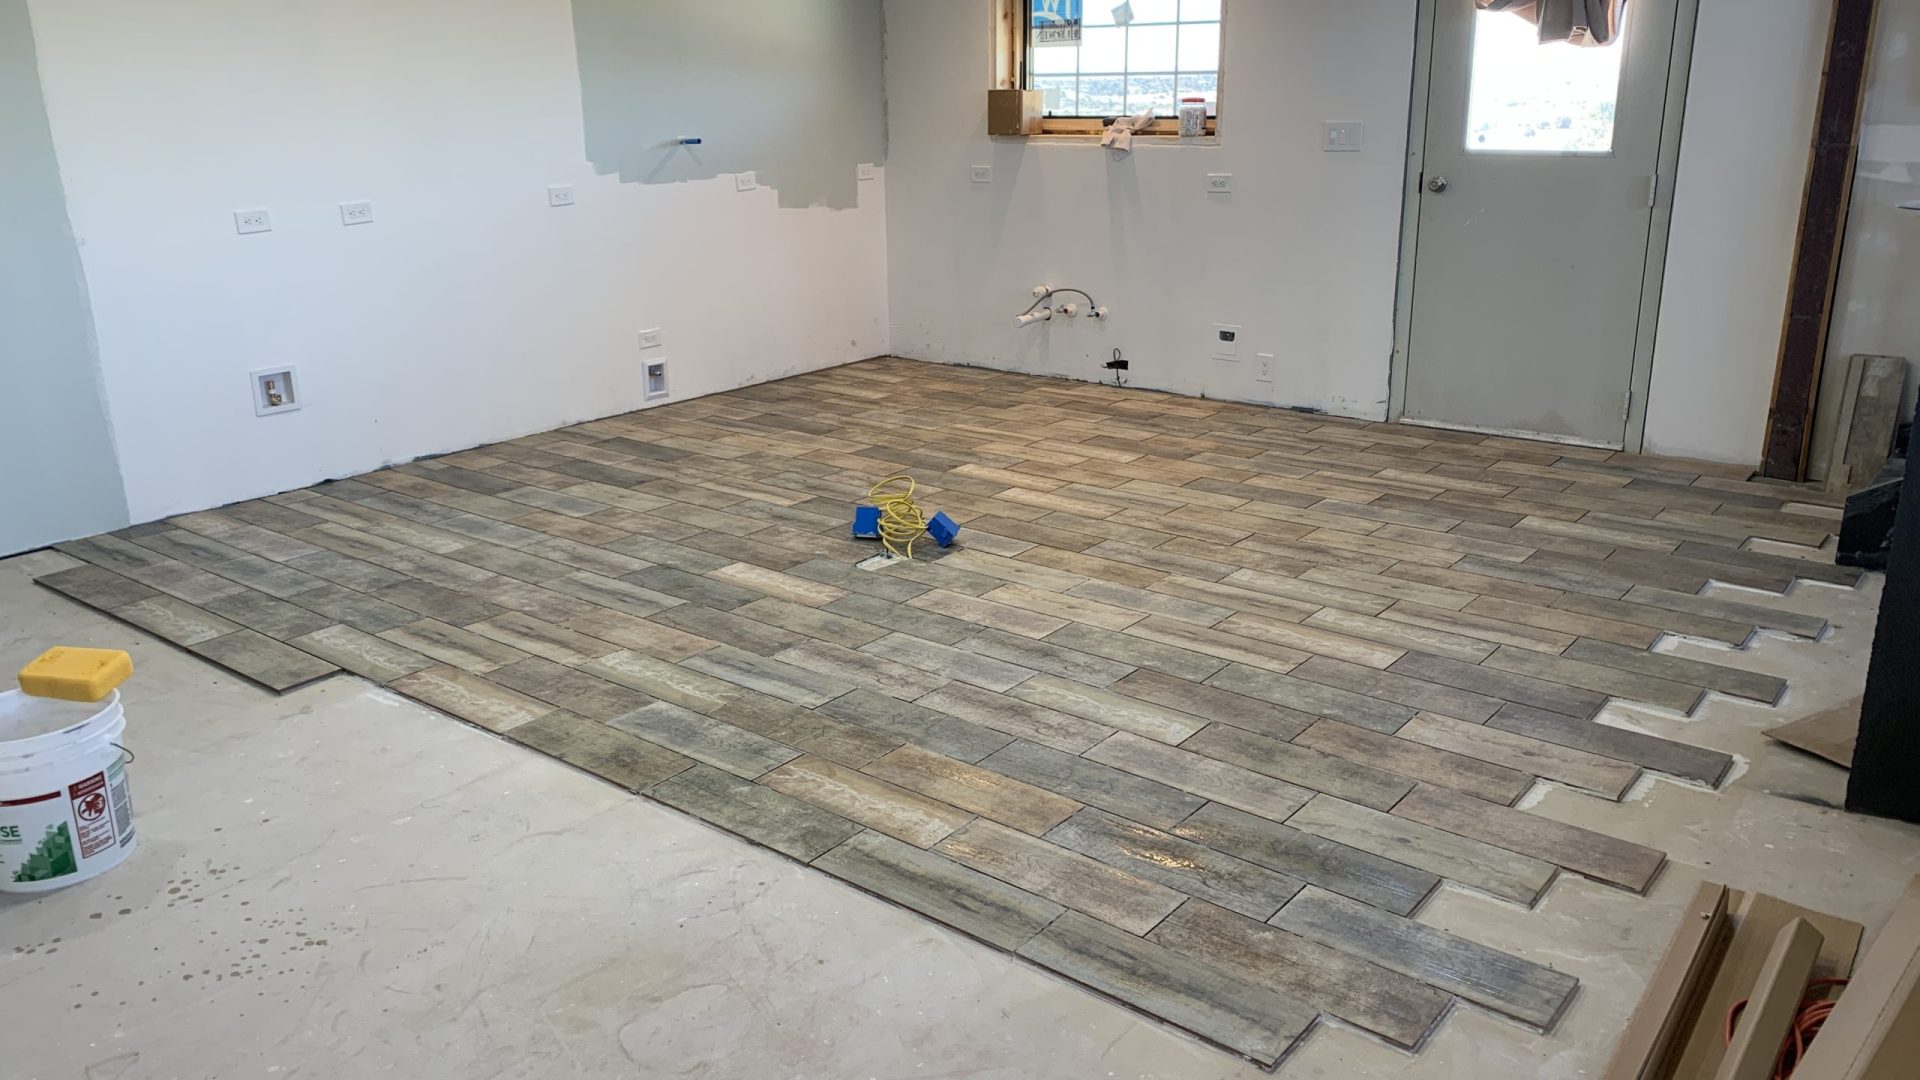
I wanted the tiles to end at the wall with a half tile or more at each side. Best case would be a full tile at each wall. Next best is full tile at one wall and a half tile or more at the other wall. I ended up with the tiles ending on a whole tile on the west wall and having to make a cut for the east wall. You can see my planning in the picture on the left. I laid all the tiles across the house with the spacers between each tile in order to double check all my calculations.
Laying the tiles

I started the first tile in the middle of the floor. I located the center between the two walls, east & west. Using a laser level I shot a line and measured multiple places along the laser line to each wall to make sure that the line was exactly parallel with the walls.
I laid out 25 tiles so that I could be sure of the pattern I wanted to use. The pattern I am using is 1/3 tile offset each row.

Now it was time to start laying tile. I am using a tile leveling system. These work great and essentially form the induvial tiles into one large tile. Everything ends up flat. This started out ok but when the next day I had no wat to insert the clip under the tiles to continue on as the thin set had dried. I ended up using standard tile crosses to space the tiles. This required me to level the tiles myself.


The next day I decided to install the spacers along the outside edge of the tiles.