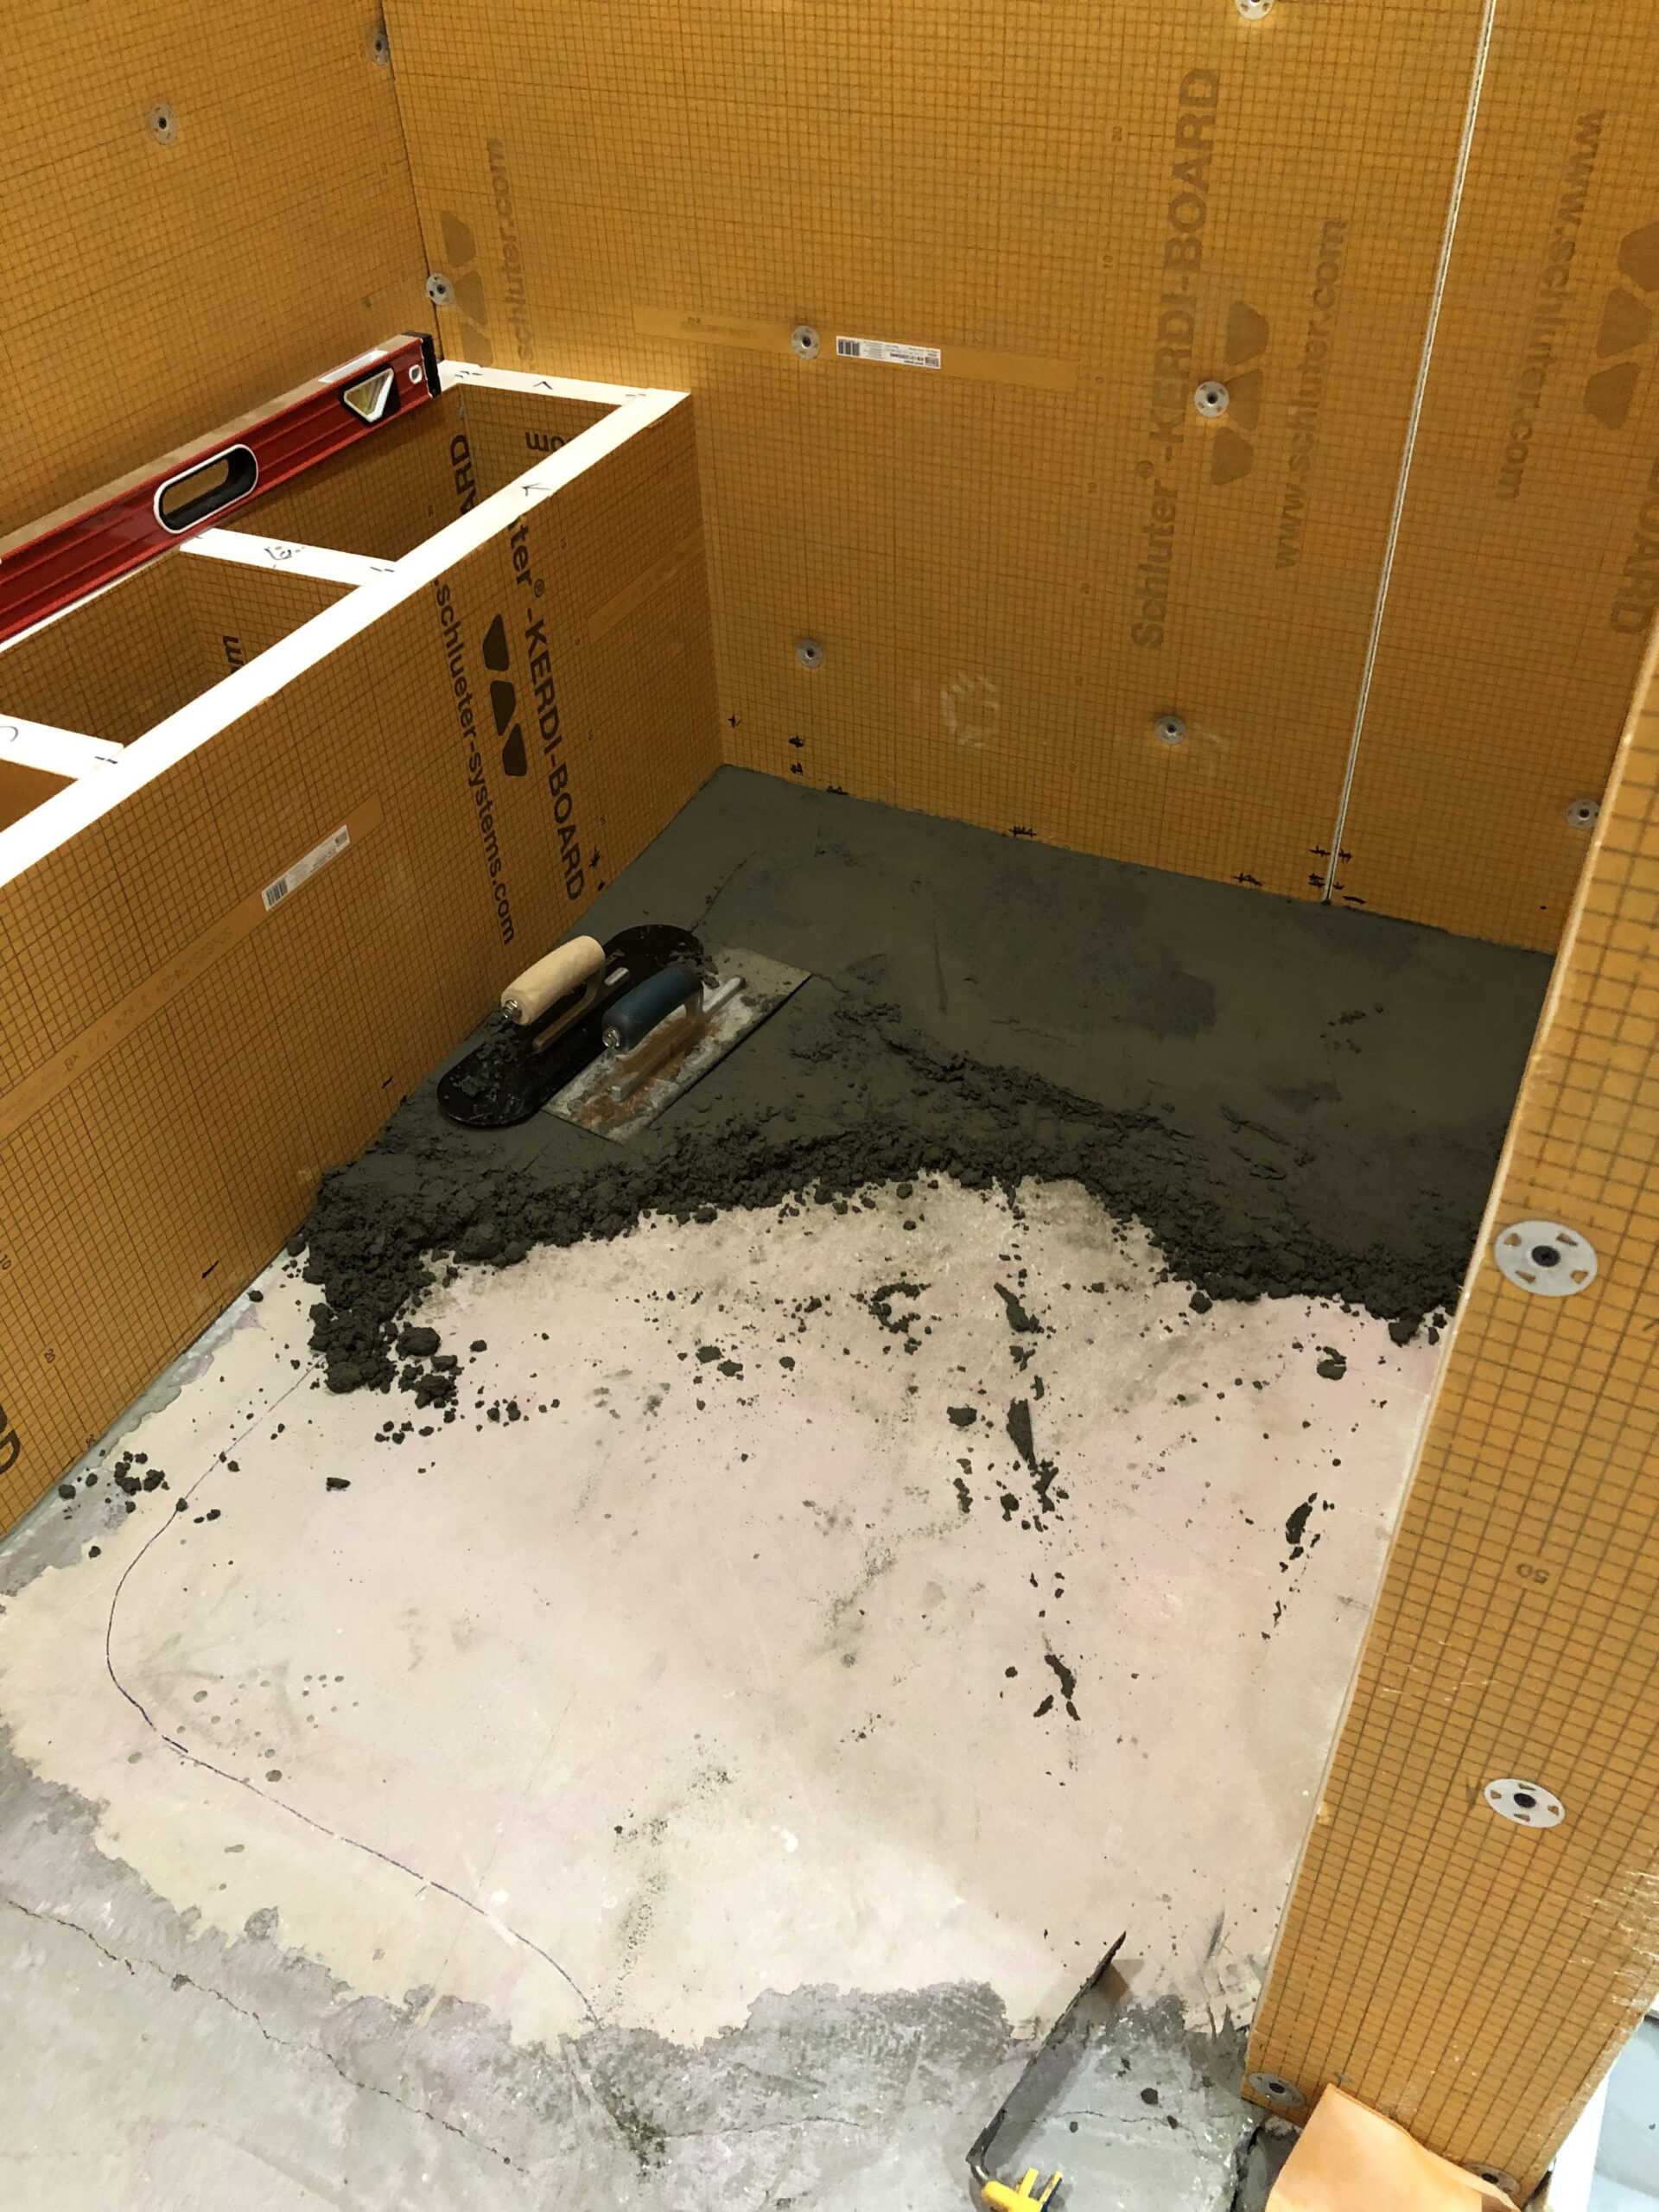
The shower floor must be formed so that it slopes toward the drain. I am going to use a 4 to 1 mix for doing this. This is a dry cement mix that is like wet sand. A test of the mix is a hand full should pack like sand.
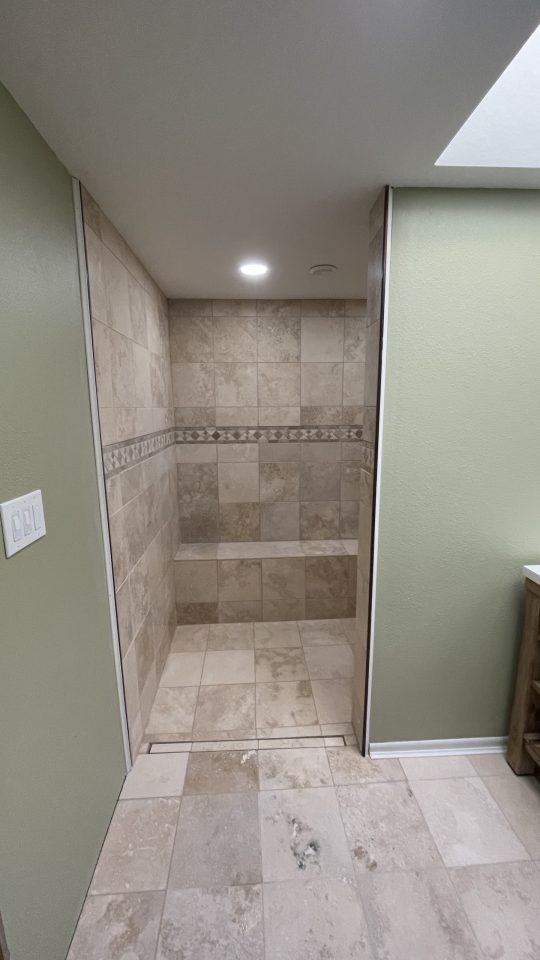
I have already installed the bench along the back wall of the shower. It is made of 2″ KERDI-BOARD. There is a piece along the back wall and another piece ending 12″ from the back wall. The front piece is about a ¼” shorter than the one along the back wall so the water will drain off the bench. The inside open area is only 8″ and I put braces of the same KERDI-BOARD so most of the cavity is filled with KERDI-BOARD. This made the bench quite sturdy. All of this was glued together and glued to the back and side walls.
After building the bench there were some gaps under the bracing so I filled the spaces with the self leveling cement so there were no gaps.
Now I had to take measurements to determine the proper floor slope. The slope should be ¼” to ½” drop for every 12″ of floor. As the shower floor is 7 feet long if I used ½” drop the one end of the shower would have to be 3″ higher than the drain, the last foot has to slope away from the other wall. I used a ¼” drop which allowed the one end of the shower to only be 1½” higher than the drain. Also going across the 3′ area of the shower floor the tile at the bench and the tile at the wall would have to be ¼” higher than the middle tile. All of this seemed complicated but when I actually started laying the bed down it was not too bad.
I laid down the 4 to 1 bedding mix and started packing it up to the lines I had put on the walls. After the mix was in I tamped it down and then used a board to level it out to the slope I wanted. In the end it turned out pretty good.
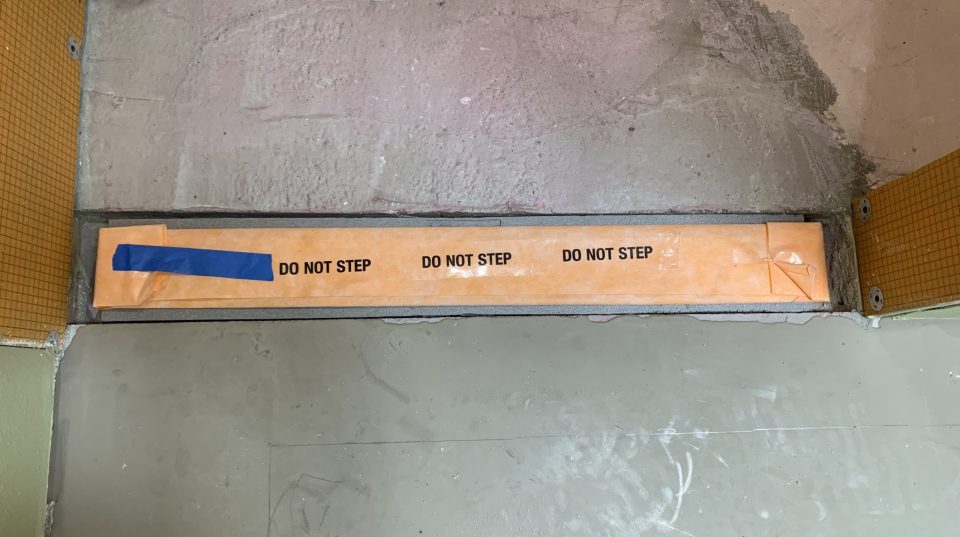
After the bedding mix had cured I installed Schluter®-KERDI bonded waterproofing and vapor-retardant membrane on the floor. As the roll was 4 feet wide this allowed for a 6″ piece going up the wall in all directions. It is applied using non-modified thin set, the same thin set that is recommended to apply the tile. I made the thin set a little thin so I could remove all the thick spots and bubbles from under the membrane.
After the shower floor was down and the thin set had cured I started covering every seam and hole in the walls with membrane making sure that I always had a 2″ overlap on the seams. This insures that the whole shower is waterproof before I start laying any tile.
With the shower sealed up it was time to move on to tiling the shower.