Now that all the services are in and the window is installed it is time to close up the walls.
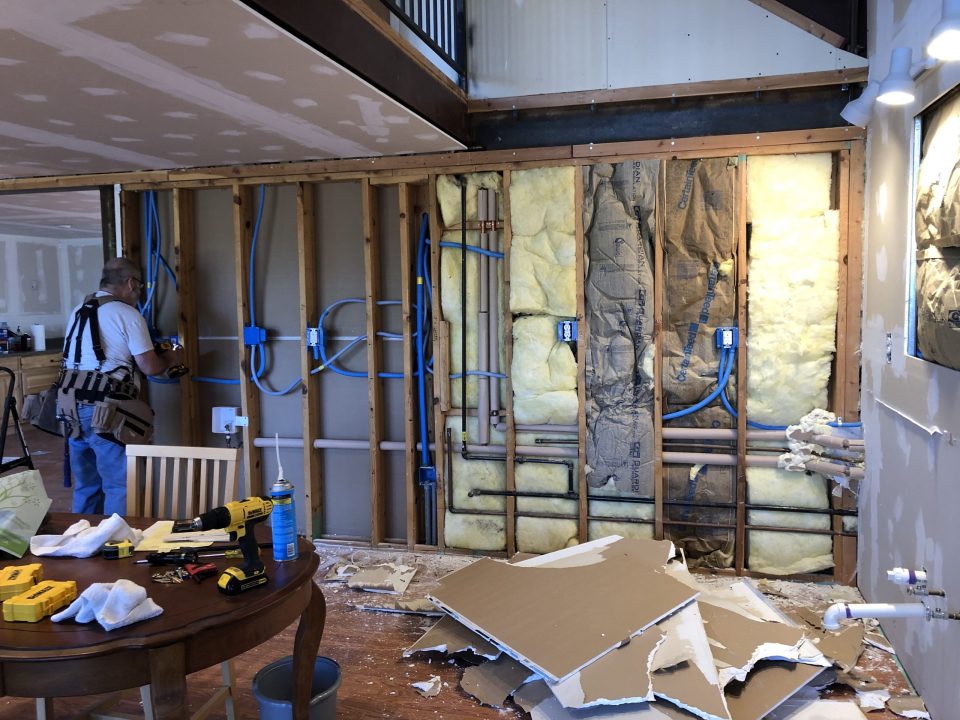
Installing the insulation


First thing was to install blocking in between the studs for the upper and lower cabinets. This will give me something solid to screw into when attaching the cabinets.
Around the window I installed blocking for the shelves that are on each side of the window. I wish I would have installed some blocking for the light above the sink but I was able to use anchors instead.


Lisa is the one that put up the insulation and she did a great job. On the outside wall we installed a vapor barrier before putting up the drywall. We also installed a vapor barrier between the kitchen and the bathroom in case of humidity penetration.
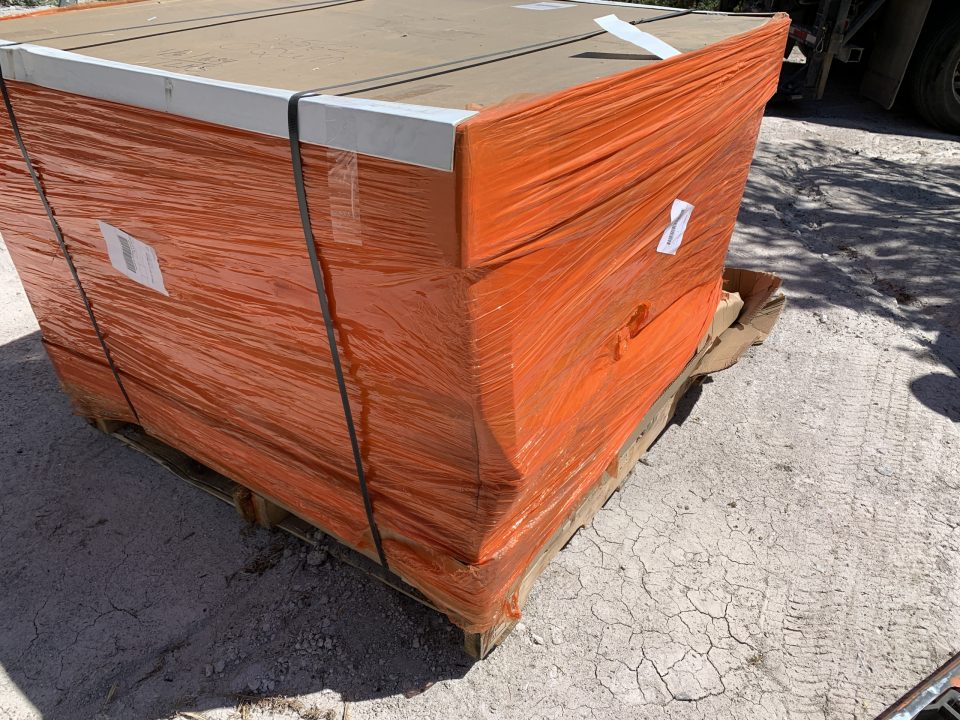
After Lisa finished installing the insulation I started drywalling. When we purchased the drywall it was cheaper to order all water resistant drywall. That is why you see all the blue drywall.
Installing the insulation


After the drywall was all up it was time to tape and mud. Most of the taping and mudding was pretty standard. The one place the it was a little different was along the railing in the loft.


Another place that required some work was where I had removed the can lights.
I tried a California patch but that didn’t work well. I ended up putting a brace across the hole and cutting a piece of drywall that just fit. I then taped and mudded the hole.
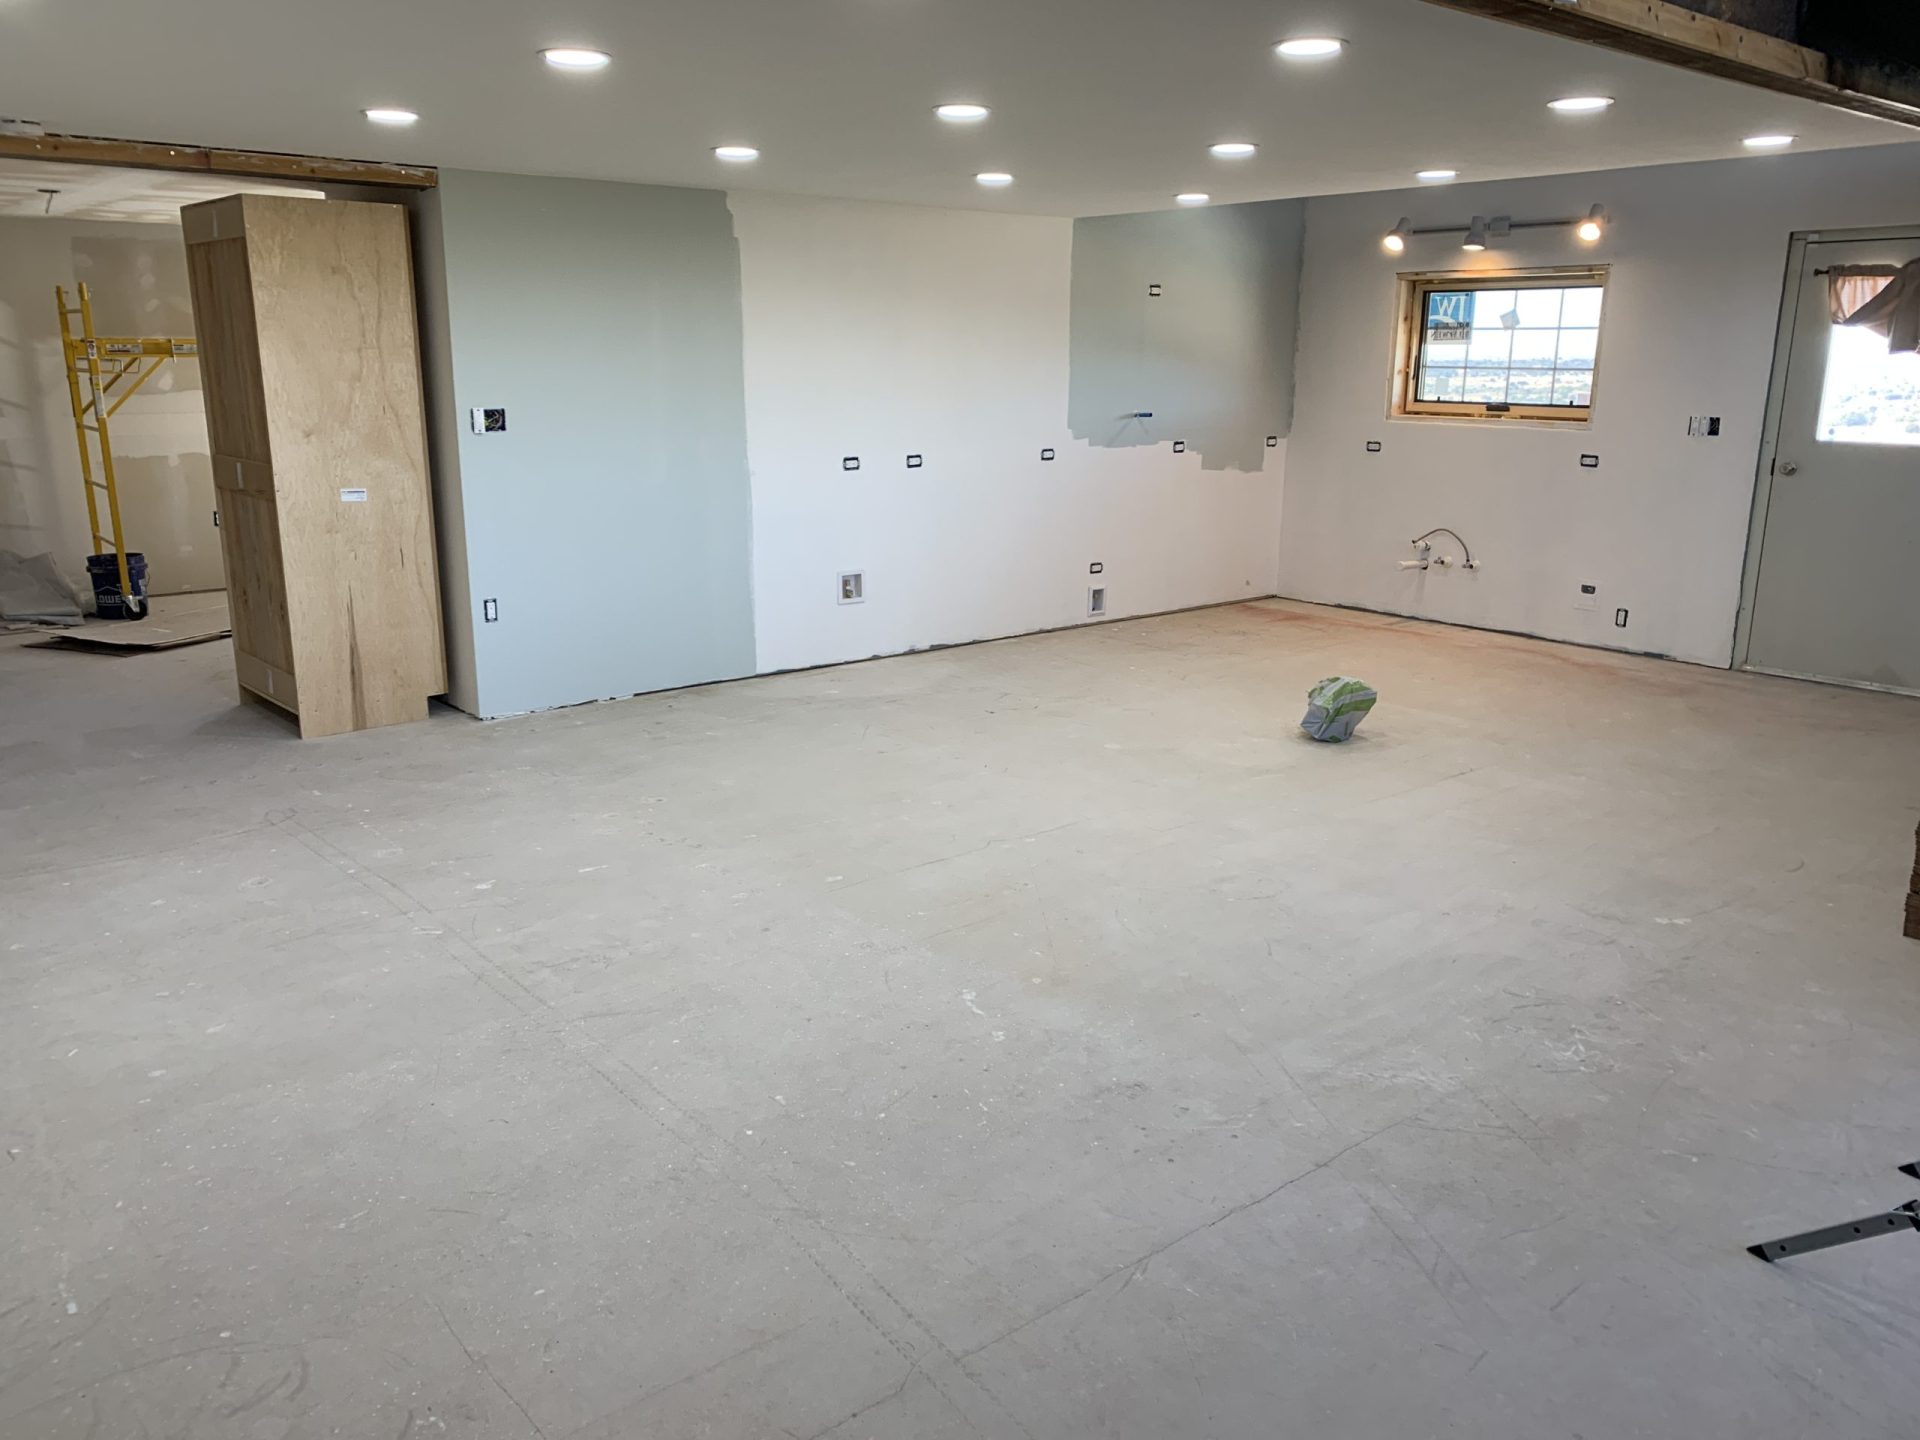
Priming and painting


After everything was tapped, mudded, sanded, mudded, sanded, mudded it was time to prime the walls to get them ready for paint.
The reason to prime the walls is to save on paint. The walls are very porous and suck up a lot of paint. The primer is a LOT cheaper than the paint and allows us to use one coat of paint instead of two coats.
Also on the ceiling and dining room wall the drywall is VERY old, over 10 years. It was never primed so it is very dry and doesn’t take paint or drywall very well.


With everything primed it was time to paint. We only painted the areas that would show after the cabinets and wall coverings are installed.
As a DIYer and more important as the person paying for all this, at this point is where my anxiety went up. If I had made any mistakes it would cost $ to fix.
Now it was time to move on to installing the floor.